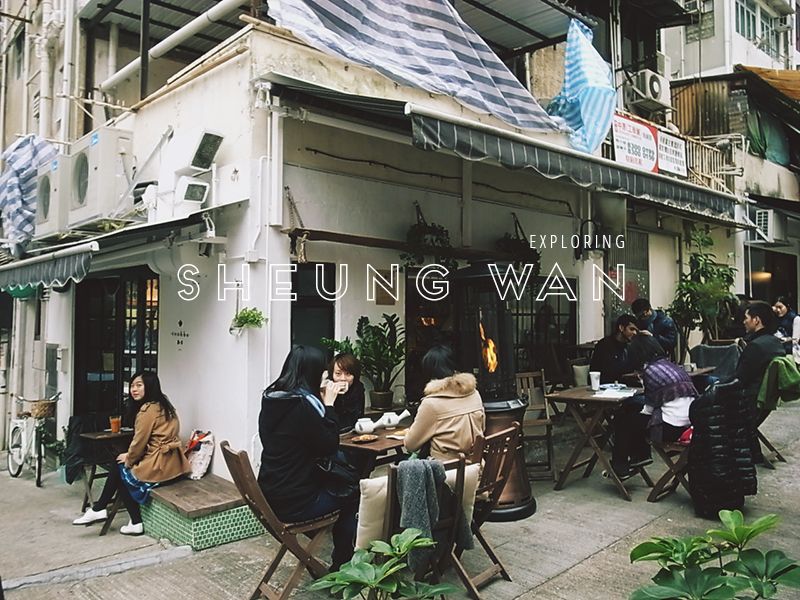
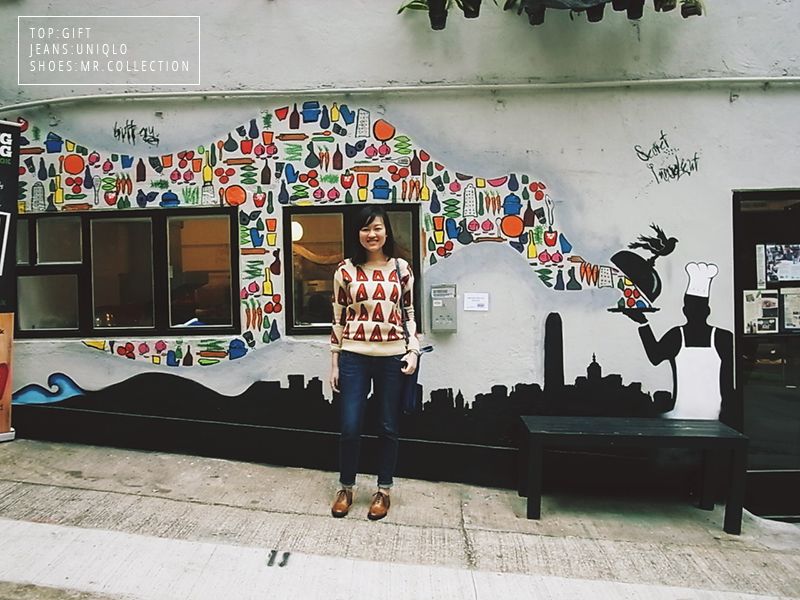
I guess I'm still in the sharing mood. I don't want to drag out my Hong Kong posts so much that I'd have to keep writing about my experiences two months later well into the semester. Teresa (my now de facto HK tour guide) brought me to Sheung Wan, where she said there were a lot of art galleries and cute cafés. What is this, Brooklyn? Chelsea? I think not. My mum bought an apartment here a good while ago out of convenience (since we live in the what is basically the boonies of Hong Kong) for its proximity to the heart of city without Central/Causeway Bay's price tag. If you said Sheung Wan would become hip or chic back then, I would have laughed in your face. But here I stand, eating my words and corrected.
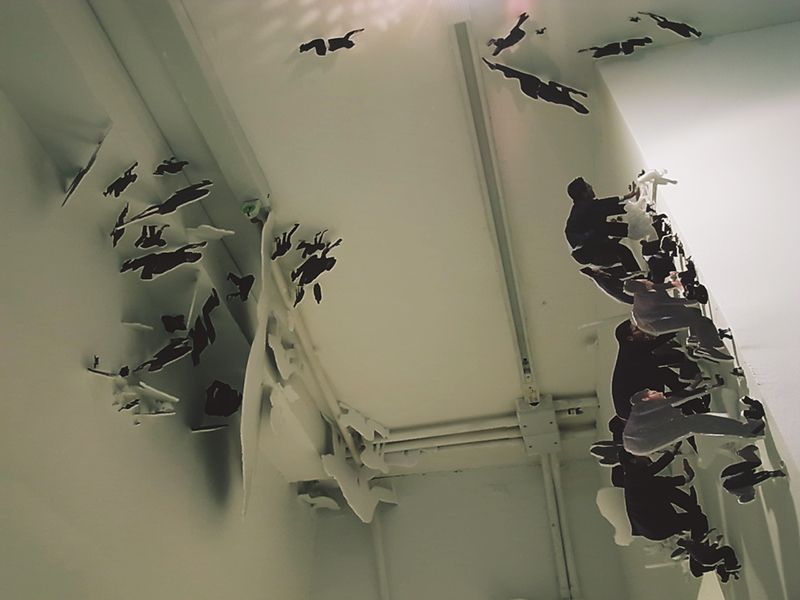
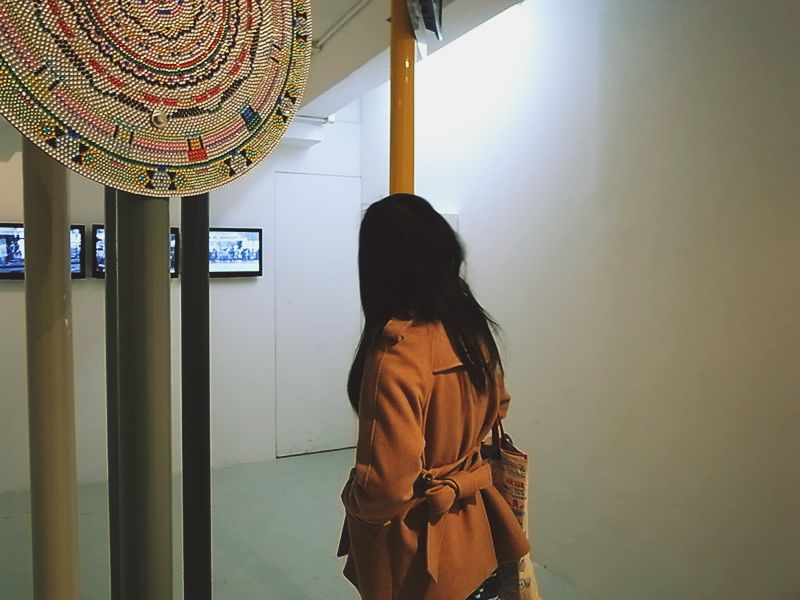
Though the galleries here are very new, most were well done and well thought out. It was quite pleasant to browse through all of them. I also manage to go visit the world's first stand alone Lomo store here – a place that Teresa used to frequent often. Another successful case of people branching out and exploring new places to open new ventures!
In this post, I happen to use to use a few image rollover so check my blog secret #2 at the end of my post!
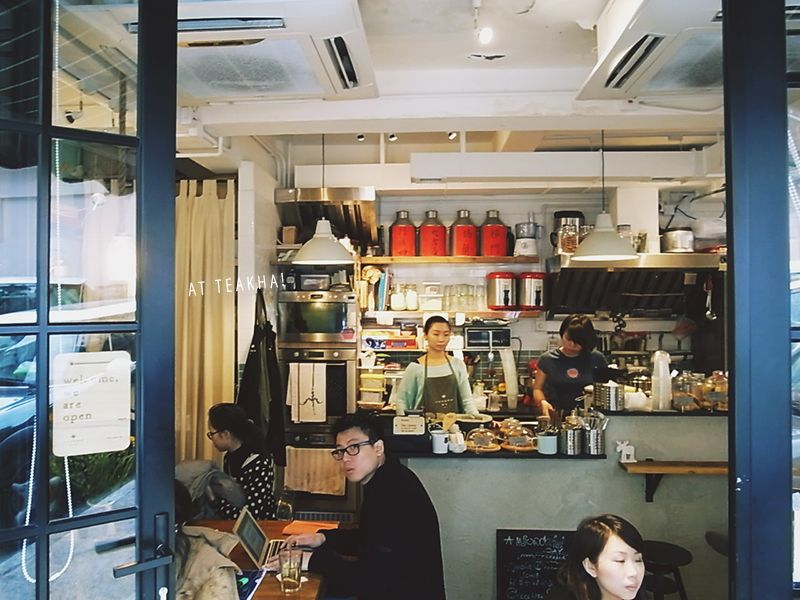
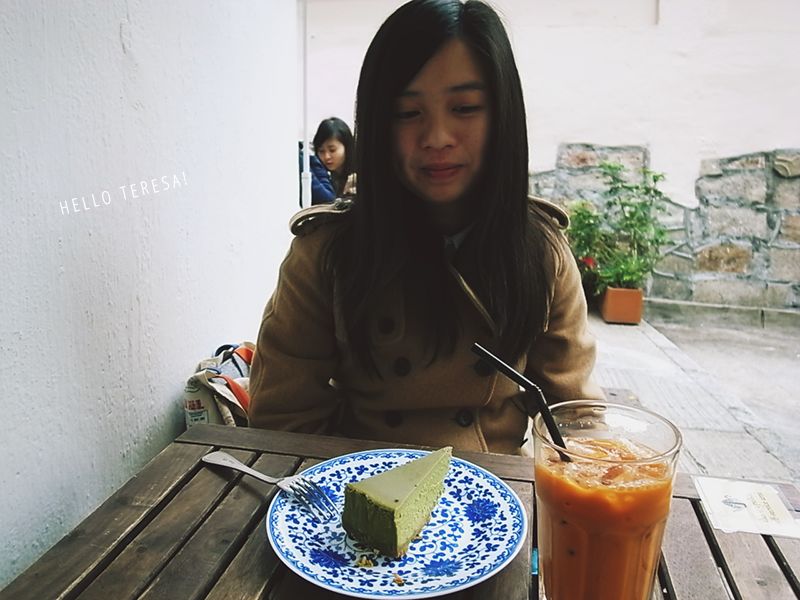
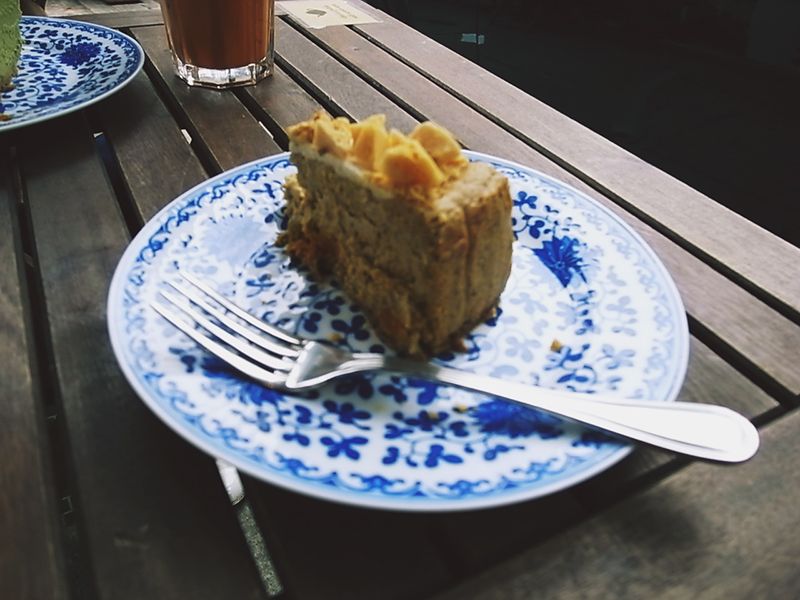
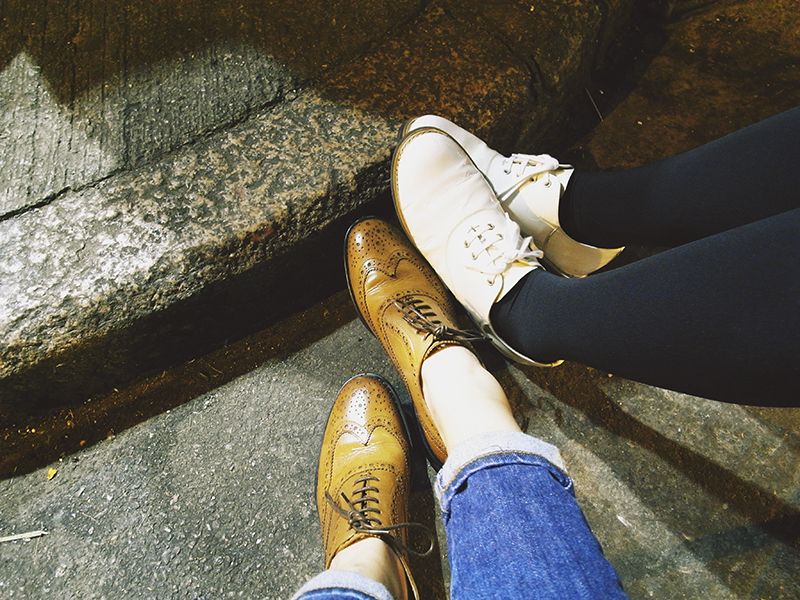
I love image rollovers because it's a nice subtle way to add a little oomph to your posts. I've used a little on past outfit photos for the labels for example. However, you can add not just text but a whole variety of different graphics to great effect. Katrina does a really good job of artfully incorporating them into her sites. Subtle changes between the images is key.
How to use super easy image rollovers:
-
Place this is in post/widget where you want to put an image rollover.
<img src="IMAGE-1-LINK" onmouseover="this.src='IMAGE-2-LINK'" onmouseout="this.src='IMAGE-1-LINK'" />
- Use an image hosting service to upload your photos. I usually use the image uploader in Blogger itself because I'm lazy for most, but for occasions like this I just use Photobucket instead. While it is absolutely possible to use the Blogger image uploader here, it is easiest to use an image hosting service like Flickr, Photobucket, Tiny Pic etc. for this.
- Once you've uploaded the photos, there are several different options for image links. Select the direct link.
- Paste the direct link of the first image in the place of the red code. The image you pick here is the image you first see without the mouseover.
- Select the link for the second picture and paste in the place of the blue link. The image you pick in this instance is the image see when you do mouseover the image.
See how easy that is! It's not the most elegant solution, but it's one that doesn't require to fiddling with Javascript/jQuery or change the classes of the images. Insert, paste and done! Have fun with it.
I'll return to writing mode soon.
